How I Automated My Blog Posts (Part2/3)
Table of Contents

Hello everyone,
I hope you’re doing well and that you enjoyed the first part on how to automate blog posts.
In part 1, we explored how to draft blog posts using Obsidian and transform them into code with Hugo. In this post, we’ll move one step further by syncing Hugo-generated content with GitHub and preparing for deployment.
Now that we’ve solved the text-to-code challenge with Obsidian & Hugo, let’s move on to the interaction between Hugo and GitHub.
As you may have guessed, the idea is to start writing not juste “because you want to say something but because you have something to say” – F. Scott Fitzgerald
To help you visualize what writing in Obsidian looks like, here’s an example.
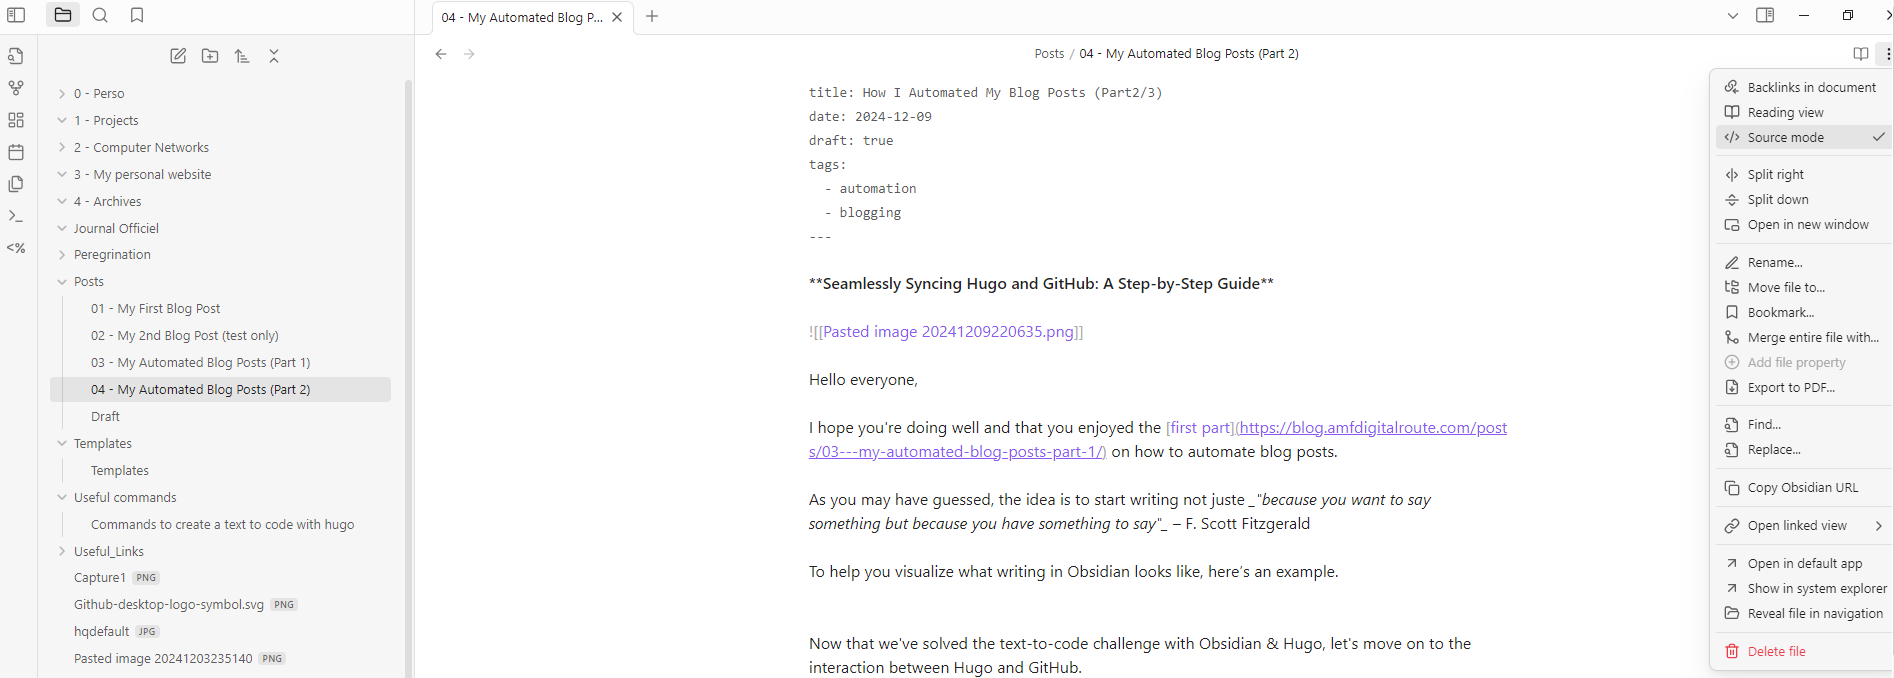
What you see here is the source mode, and this is how it looks in the normal mode:
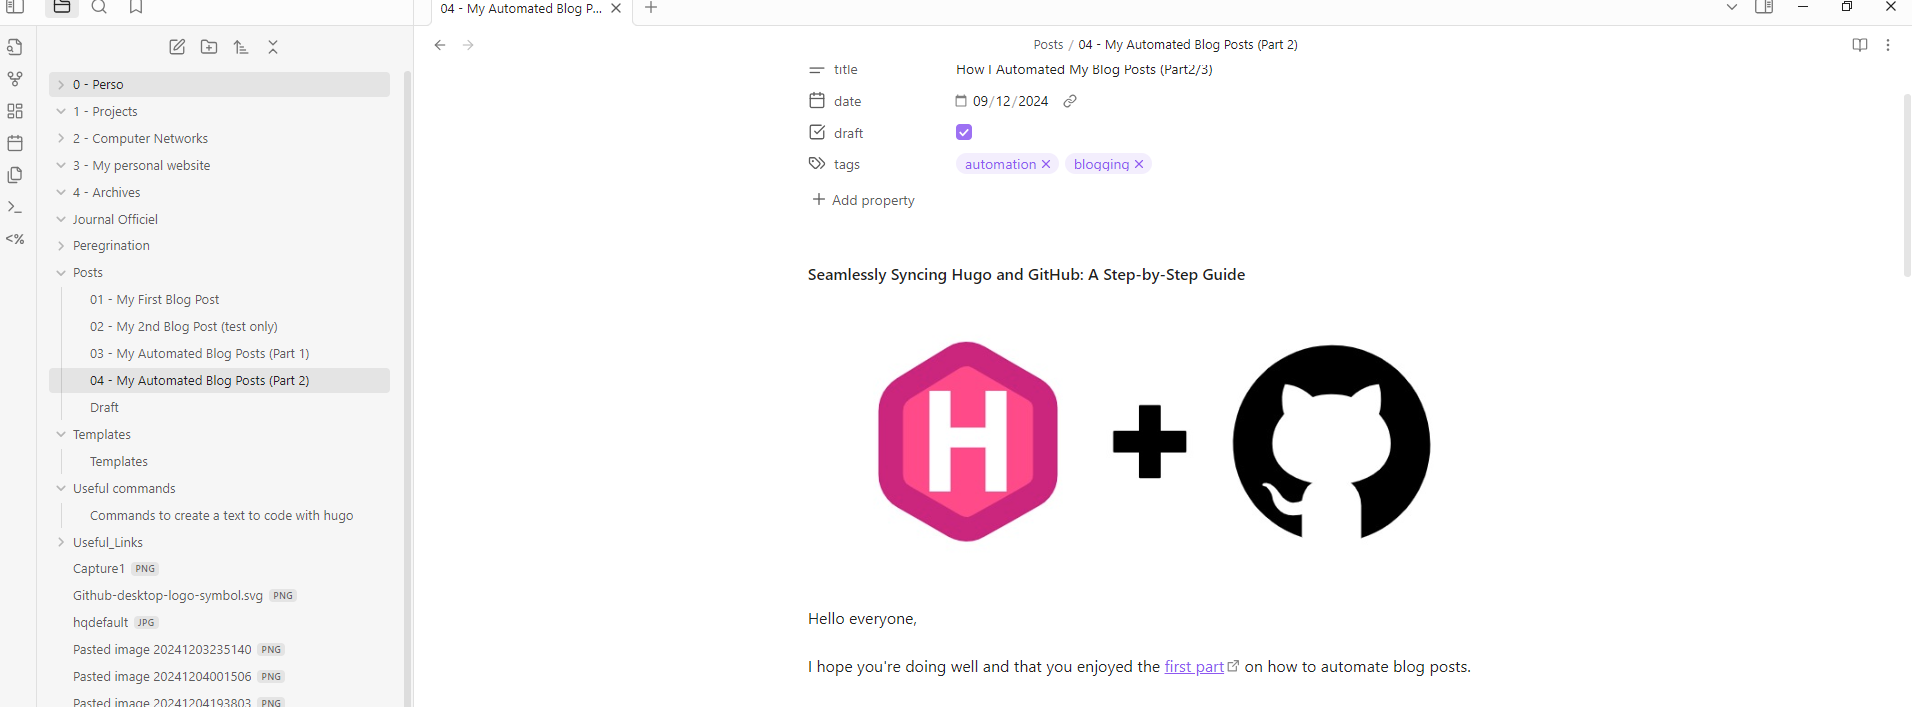
Note that while writing, I check the box draft: true to prevent the blog post from being published online.
Seamlessly Syncing Hugo and GitHub: A Step-by-Step Guide#
Introduction#
In this article, I’ll guide you through the interaction between Hugo and GitHub for automating your blog deployment. We’ll cover:
- Setting up a GitHub account and repository.
- Securing communication with SSH keys.
- Syncing only Hugo’s
publicfolder to ensure efficient and streamlined publishing.
By the end, you’ll have a secure and efficient setup for hosting your static site.
What is GitHub?#
GitHub is a platform that helps developers store and manage their code in the cloud. It uses Git, a version control system, to track changes, collaborate with others, and keep projects organized. Think of GitHub as a library where you can safely store your code while keeping a history of every change you make.
For this tutorial, GitHub will act as a bridge between your local Hugo project and your live website.
Step 1: Setting Up a GitHub Account#
- Visit GitHub and create an account if you don’t already have one.
- Verify your email address to activate the account.
Step 2: Creating a Repository#
- Once logged in, click New Repository on your GitHub dashboard.
- Name your repository (e.g.,
my-blog). - Set the repository to Public or Private as per your preference.
- Click Create Repository to finalize.
Step 3: Securing Your Connection with SSH Keys#
Why use SSH?#
SSH ensures a secure and password-less way to interact with your GitHub repository.
Generating an SSH Key :#
- Open your terminal (or Command Prompt on Windows) and run:
ssh-keygen -t mysshkey -C "your_email@example.com"
- Save the key to the default path and set a passphrase for added security.
Adding Your SSH Key to GitHub :#
- Copy the SSH key to your clipboard:
cat ~/.ssh/id_mysshkey.pub
(Replace id_mysshkey with the file name of your key if you used a different one.)
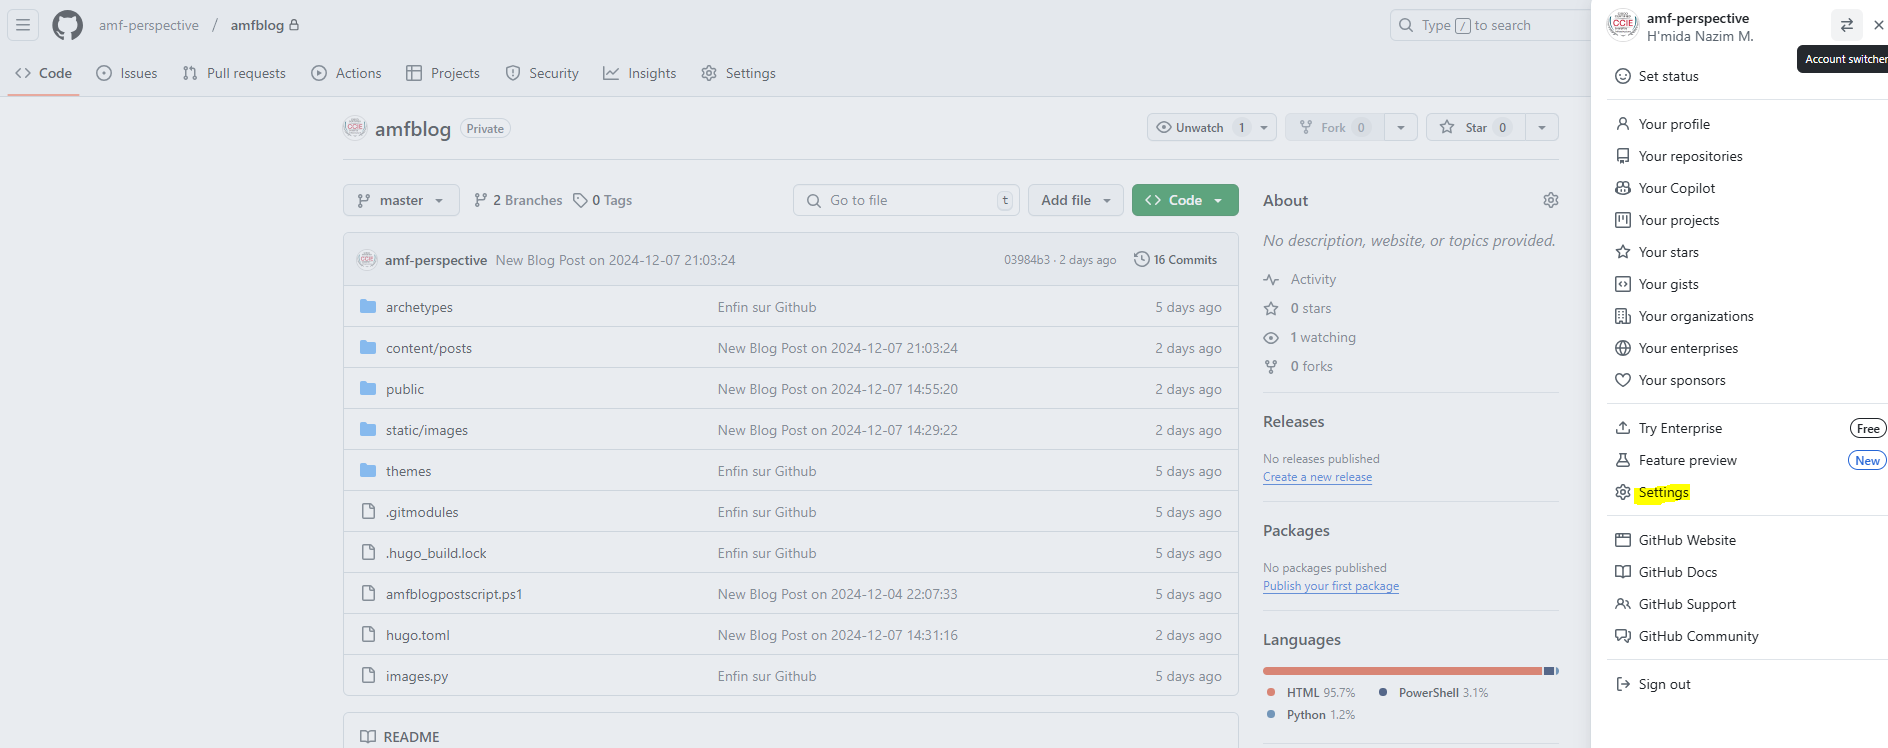
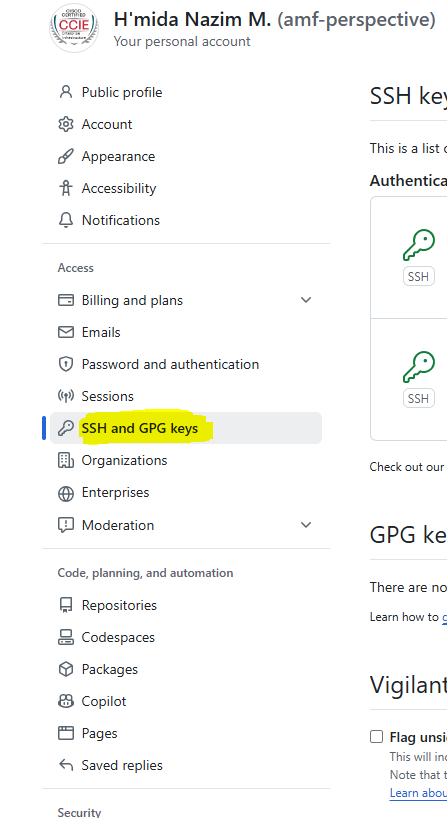
- Log in to GitHub, go to Settings > SSH and GPG keys > New SSH key.
- Paste the key, name it, and save.
You can validate with :
ssh -T git@github.com

Step 4: Syncing Hugo’s Public Folder to GitHub#
Why Only the Public Folder?#
Hugo generates all the static files for your site in the public folder. This keeps the repository lightweight and avoids uploading unnecessary build files or drafts.
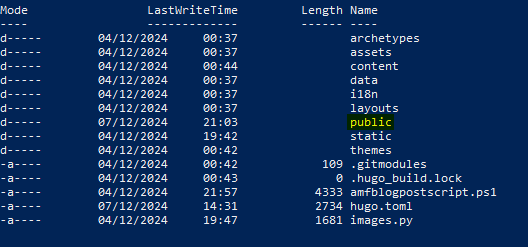
Steps to Copy the Public Folder:#
- Initialize the
publicfolder as a Git repository:
cd public
git init # Initialize a local repository
- Add your GitHub repository as a remote:
git remote add origin git@github.com:your-username/my-blog.git
- Commit and push your content:
git add .
git commit -m "Initial commit"
git push -u origin main
Here is a look of the folder on Github :
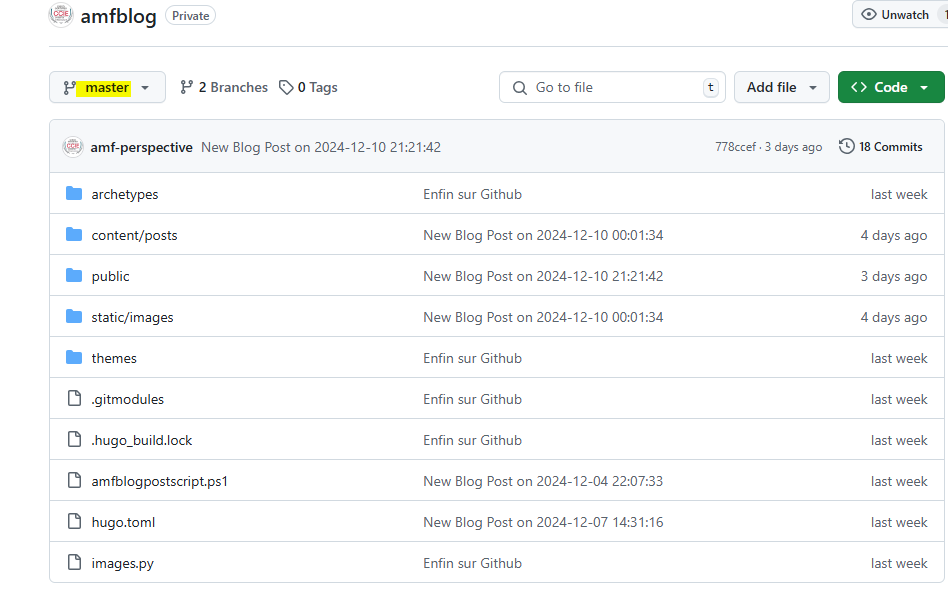
Notice That I have a branch called master where you can find all folders/files, we need to create a subtree for hostinger to share only the public folder.
echo "Deploying to GitHub Hostinger..."
git subtree split --prefix public -b hostinger-deploy
git push origin hostinger-deploy:hostinger --force
git branch -D hostinger-deploy
Conclusion#
Alright, let’s recap. So far, we’ve covered how to set up the necessary environment to write and transform what we’ve written into HTML code using scripts.
Remember the robocopy script That copies Obsidian .md files to Hugo’s content folder :
robocopy "C:\Path\To\ObsidianVault\Posts" "C:\MyWebsites\my-first-site\content\posts" *.md /mir
And the Python script for transferring images.
By now, your Hugo site should be synced with GitHub, paving the way for smooth deployment. In the next part, we’ll tie everything together by deploying your blog to a hosting platform with just a single script.
I’ll also share with you the ultimate script to automate everything. All you’ll need to do is write your posts, run the script, and it’ll be live!
Stay tuned, and happy blogging!
I hope you found this informative. If you have any comments, feel free to let me know by sending an email to: nazim@amfdigitalroute.com.