How I Automated My Blog Posts (Part3/3)
Table of Contents

Hello everyone,
I hope you’re doing well and that you enjoyed reading the 1st part and the 2nd part of my series on automating blog posts.
In Part 1, we drafted blog posts using Obsidian and transformed them into HTML with Hugo. In Part 2, we synced the Hugo-generated files with GitHub. Now, in this final part, we’ll automate the entire workflow—from writing to publishing—with a single script.
Let’s summarize before going any further:
- Installation of Obsidian ✅
- Installation of Hugo and its entire environment ✅
- Creation of a repository on GitHub ✅
We’re missing one step (but which one?) to finalize our project.
I know you might think it’s tedious and complicated, but at some point, you have to get things done—or at least know how it all works.
In this post, we’ll explore how to sync GitHub with your website hosting platform. But before we get to that, let me touch on something I haven’t really talked about yet: the “Part 0” of this process. Like any good project, it all starts with securing a website and a domain name. Don’t wait for the “perfect time” to act. The internet evolves quickly, and the domain name you envision might not be available tomorrow. Your domain is your online identity. Take the first step today, even if the rest of the journey feels unclear. Your future self will thank you.
For my blog, I used Hostinger.com. It’s a user-friendly platform that doesn’t require a lot of technical expertise to create a professional-looking site. I began with a simple profile page, primarily to share my professional background.
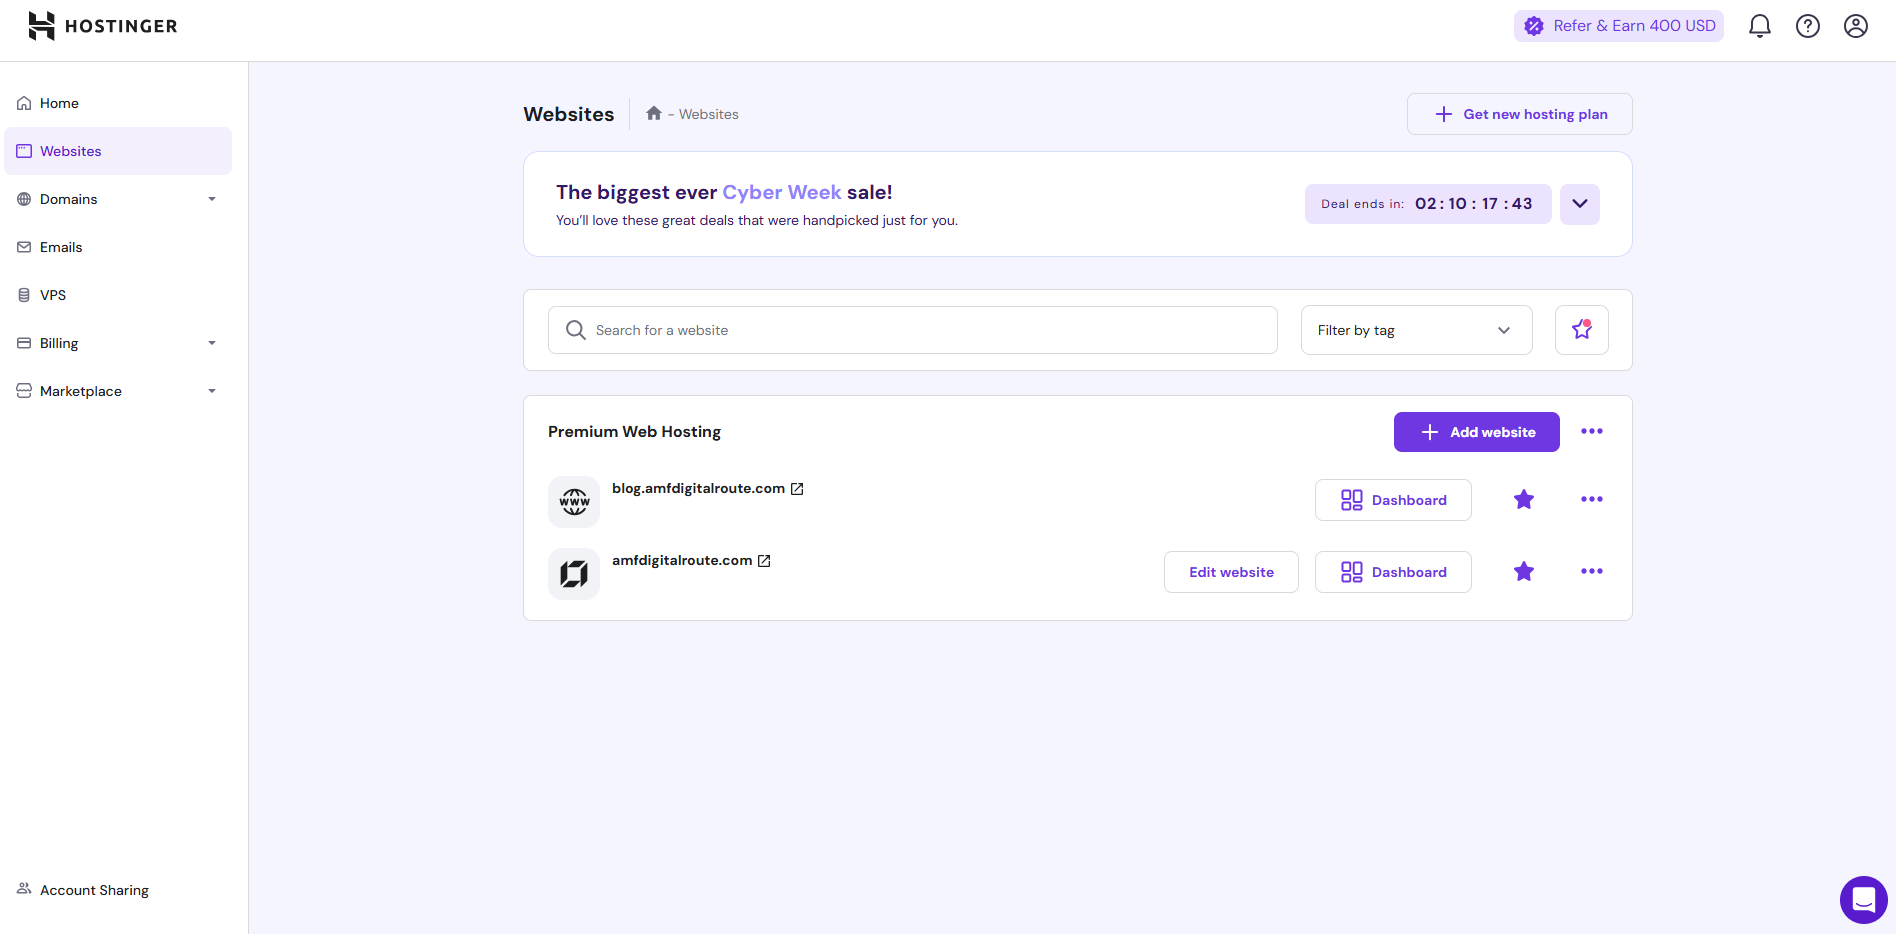
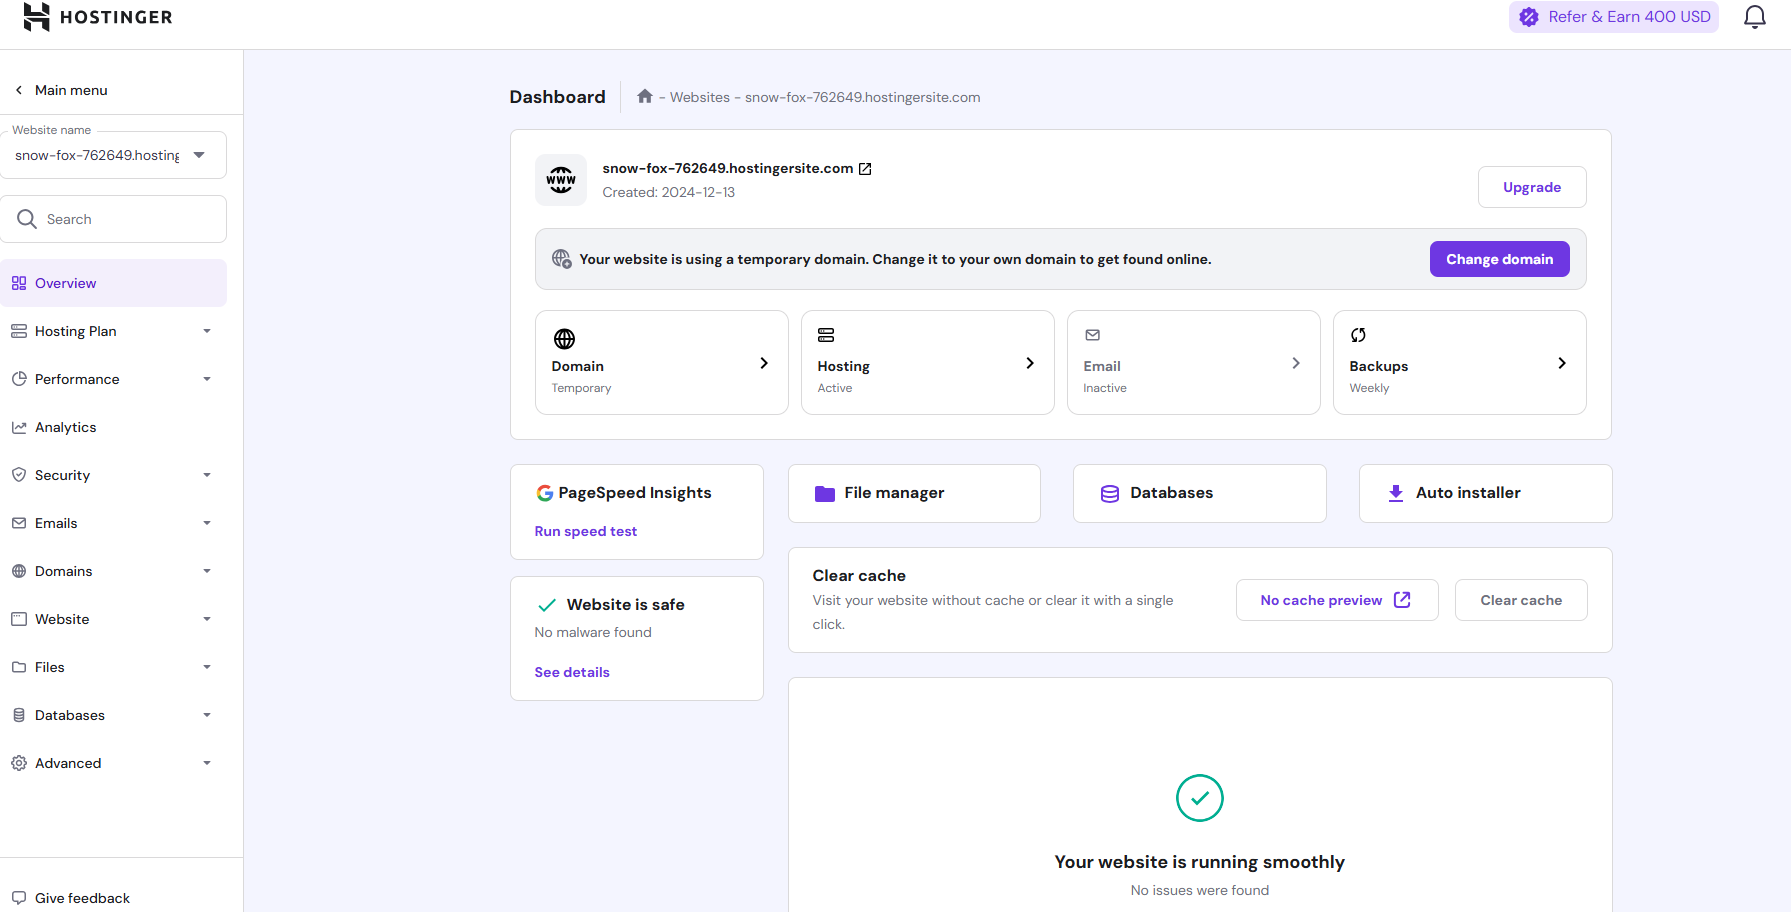
Here’s a quick preview of the Hostinger dashboard. In an upcoming post, I’ll walk you through creating a new website from scratch.
Step 1: Set Up Your Website on Hostinger#
1. Sign in to Hostinger:#
If you don’t already have an account, create one at Hostinger.
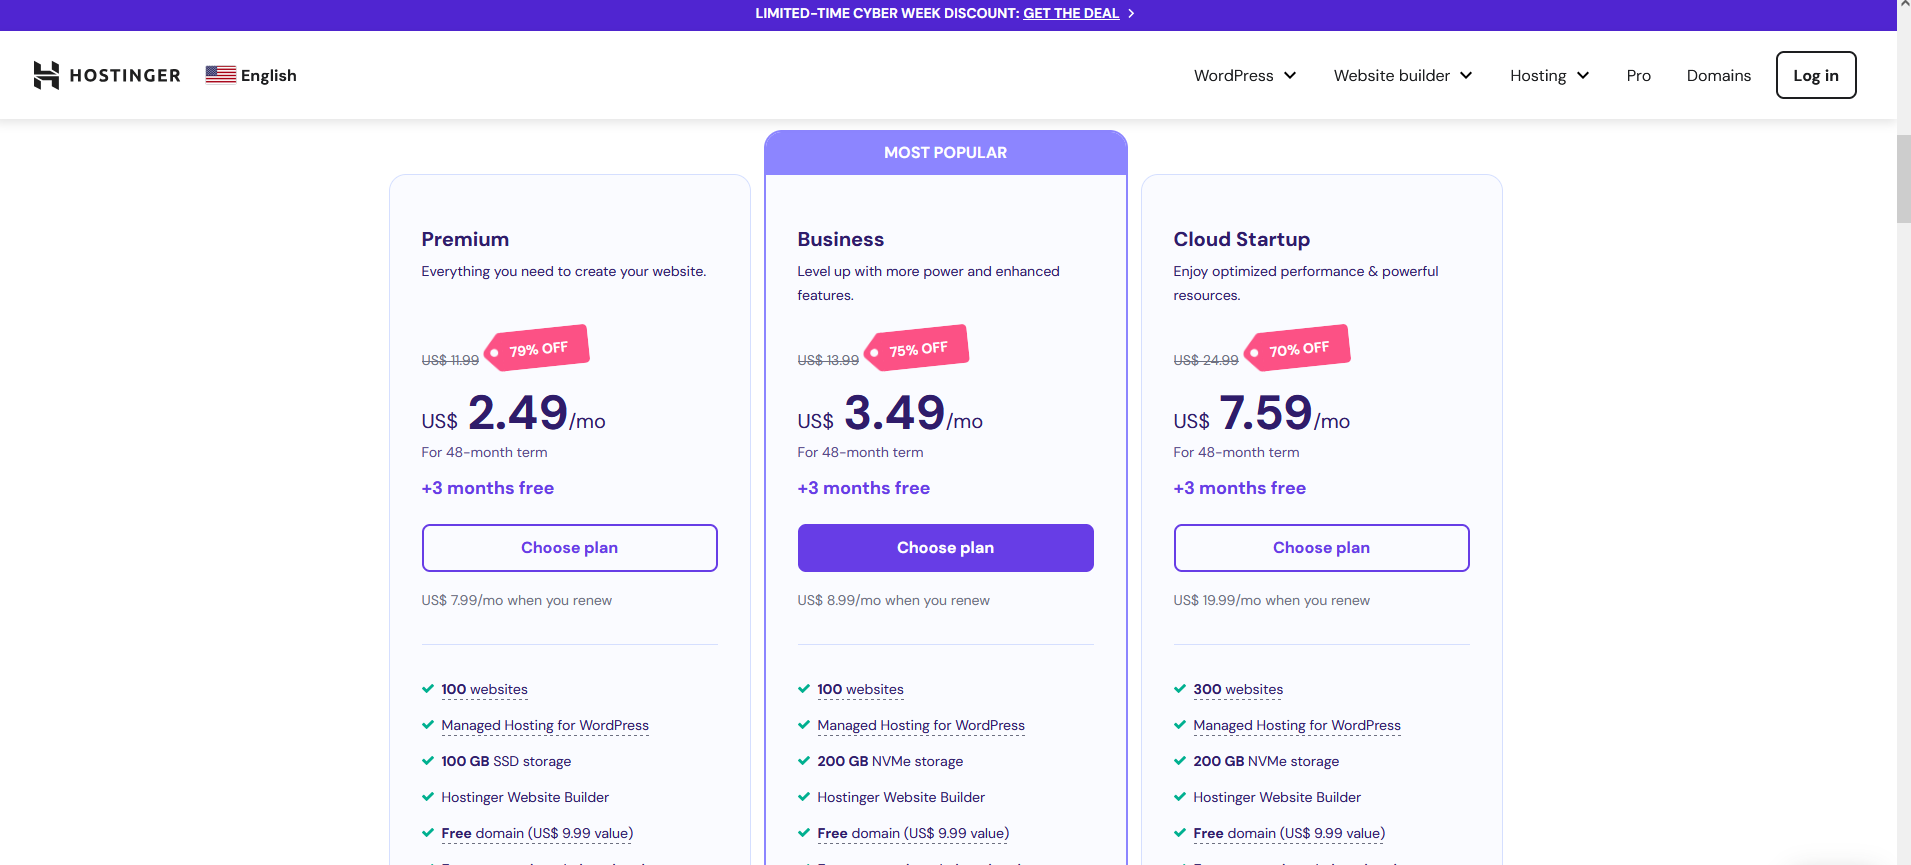
2. Purchase a Hosting Plan:#
Choose a plan that suits your needs (e.g., Single Web Hosting or Premium Web Hosting).
3. Set Up Your Domain:#
- If you’ve purchased a domain, link it to your hosting account.
- Alternatively, use a free subdomain provided by Hostinger.
Now that we’ve covered the “Part 0”, let’s move on to the next step: syncing GitHub with Hostinger. Essentially, this involves sharing Hugo’s public folder with Hostinger so that the host can download and serve the web pages.
“Note : If you choose (and I recommend doing so) to use a private repository and ensure secure communication, utilize SSH keys—just as we did between Hugo and GitHub. Additionally, it’s essential to configure the synchronization so that Hostinger only accesses the public folder and only during the synchronization process.”.
As I’ve mentioned before, I’ll be sharing the final script that automates publishing your content after you finish writing it in Obsidian.
Step 2: Add a website#
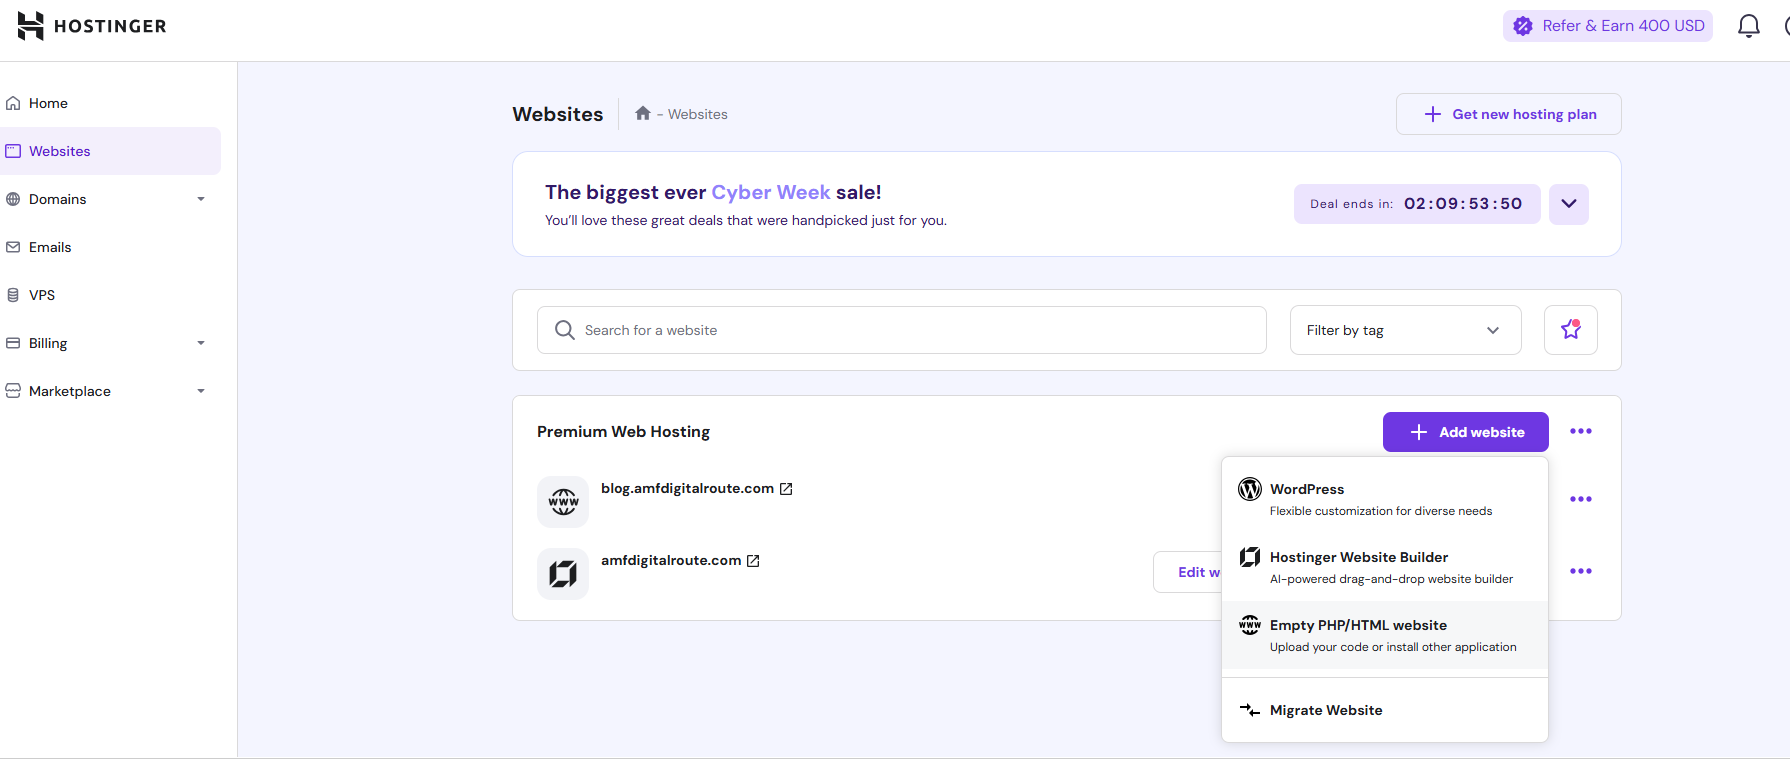
- Click Add website & select Empty PHP/HTML website.
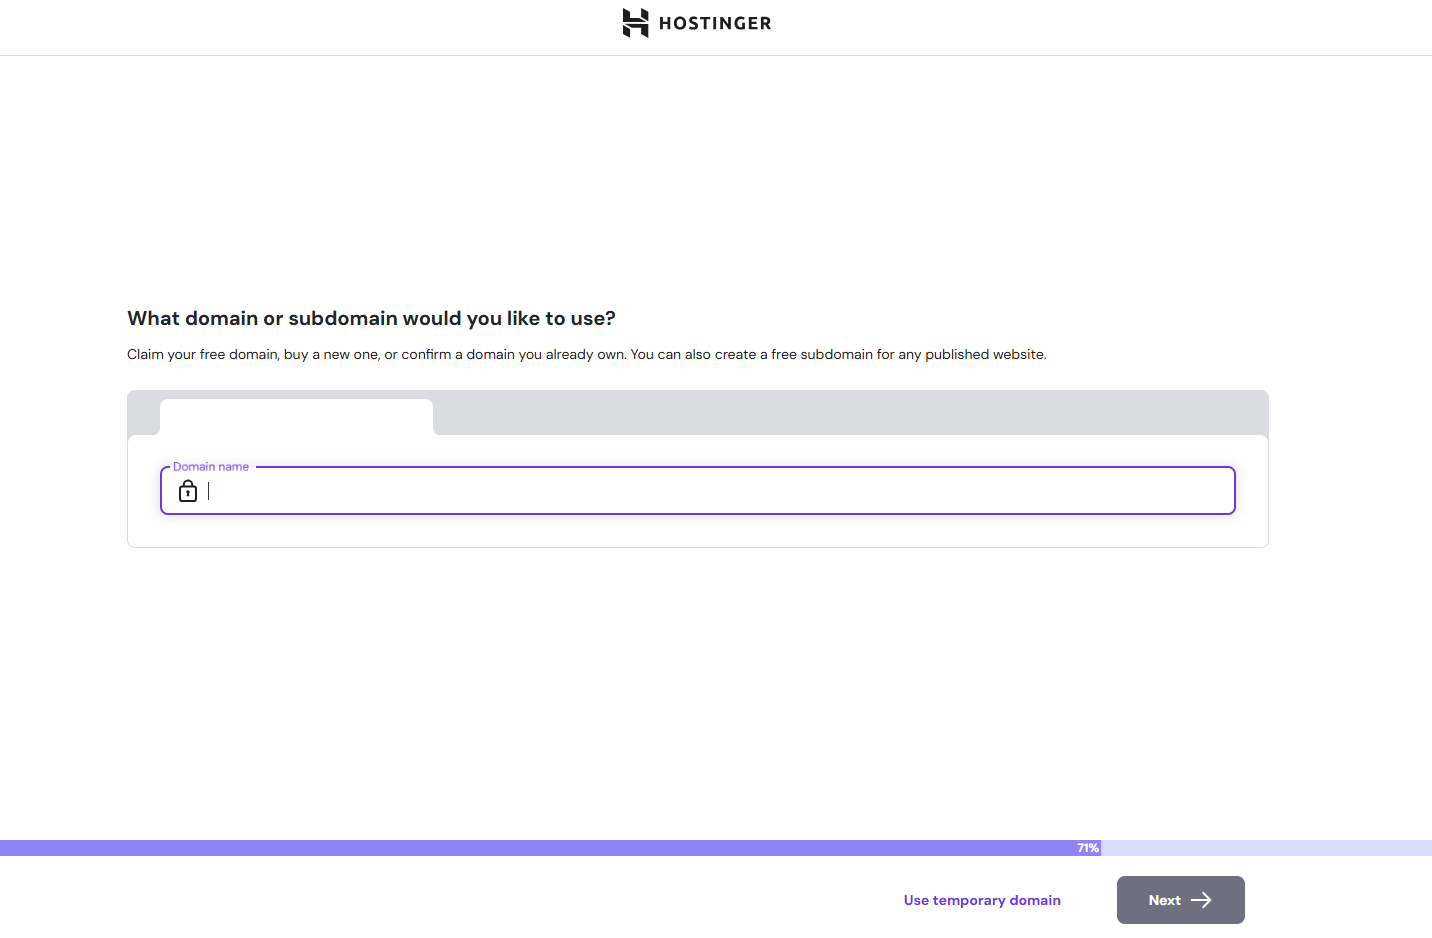
- add your “newly created” domain name or if you prefer click on “Use temporary domain”
You’ll get something like this :
-
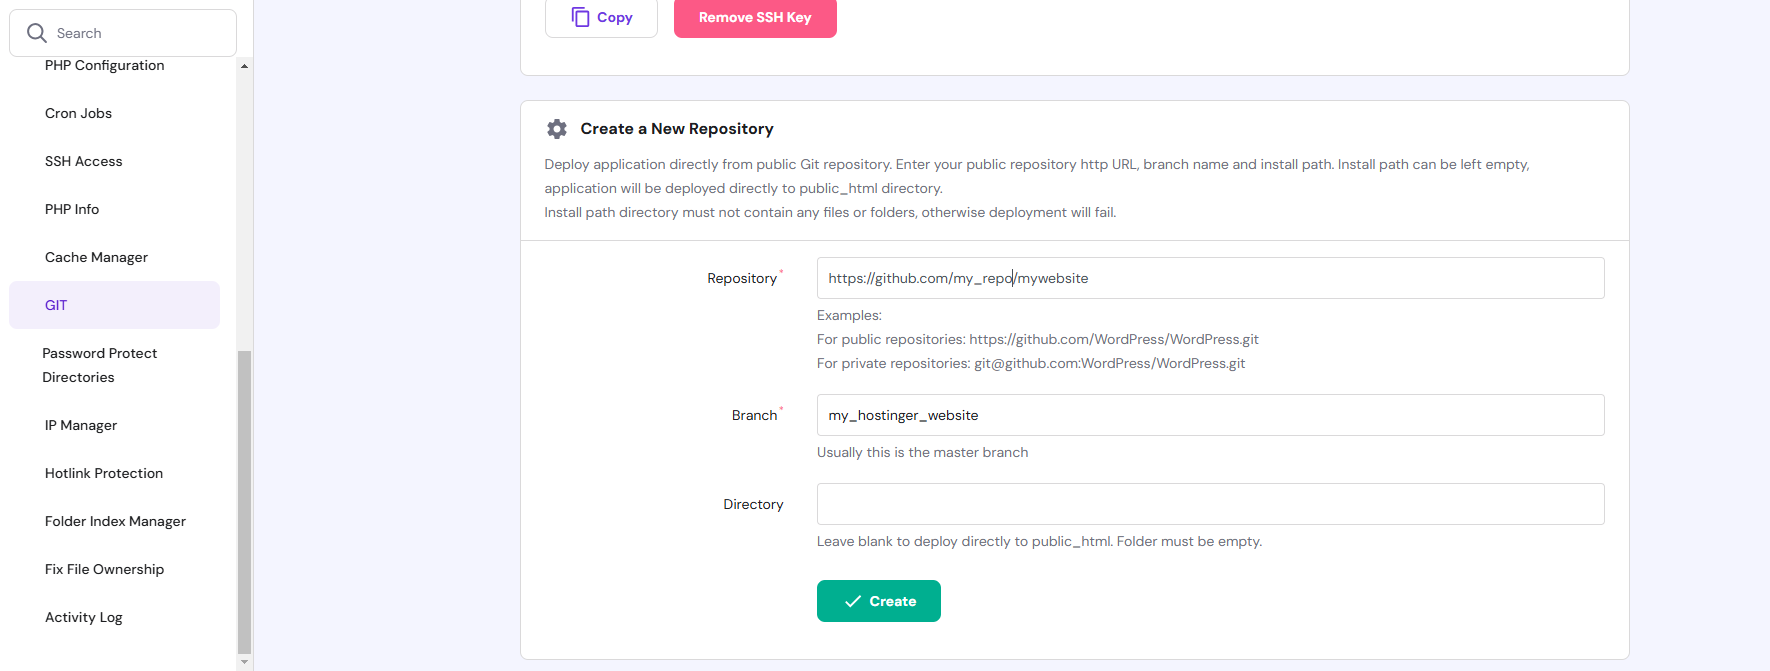
Select Advanced and then GIT and add your repo :
- For private repositories: git@github.com:WordPress/WordPress.git (If you choose this, you have to add the ssh-key generated by hostinger to github int the Settings/keys).
- For public repositories: https://github.com/WordPress/WordPress.git (we will use the public for this example).
- Do not use the master branch, change it hostinger (remember adding a subtree in part 2)
Voilà, I know what you’re thinking: this is too complicated; why embark on such a long process? To that, I respond: The journey is more important than the destination.
The All-in-One Script#
For this script to function properly, you must ensure that you have installed the prerequisites (Git, Go, Hugo, Python 3) and also have a GitHub account, created a repository, choose between private/public, and set up a website on a web hosting platform.
“Note : If you have chosen to make your repository private, you will need to take some additional steps:
Visit How to Deploy a Git Repository to learn how to secure the interaction between Hostinger and GitHub”.
Please make sure to change the Path and the repo name according to your configuration, and also make sure to save the python script (images.py) within the directory structure of your Hugo site.
Copy the code, save it as a file with a .ps1 (powershell) extension, and ensure it is placed within the directory structure of your Hugo site.
# PowerShell Script for Windows

# Set variables for Obsidian to Hugo copy
$sourcePath = "C:\Users\path\to\obsidian\posts"
$destinationPath = "C:\Users\path\to\hugo\posts"

# Set Github repo
$myrepo = "reponame"

# Set error handling
$ErrorActionPreference = "Stop"
Set-StrictMode -Version Latest

# Change to the script's directory
$ScriptDir = Split-Path -Parent $MyInvocation.MyCommand.Definition
Set-Location $ScriptDir

# Check for required commands
$requiredCommands = @('git', 'hugo')

# Check for Python command (python or python3)
if (Get-Command 'python' -ErrorAction SilentlyContinue) {
    $pythonCommand = 'python'
} elseif (Get-Command 'python3' -ErrorAction SilentlyContinue) {
    $pythonCommand = 'python3'
} else {
    Write-Error "Python is not installed or not in PATH."
    exit 1
}

foreach ($cmd in $requiredCommands) {
    if (-not (Get-Command $cmd -ErrorAction SilentlyContinue)) {
        Write-Error "$cmd is not installed or not in PATH."
        exit 1
    }
}

# Step 1: Check if Git is initialized, and initialize if necessary
if (-not (Test-Path ".git")) {
    Write-Host "Initializing Git repository..."
    git init
    git remote add origin $myrepo
} else {
    Write-Host "Git repository already initialized."
    $remotes = git remote
    if (-not ($remotes -contains 'origin')) {
        Write-Host "Adding remote origin..."
        git remote add origin $myrepo
    }
}

# Step 2: Sync posts from Obsidian to Hugo content folder using Robocopy
Write-Host "Syncing posts from Obsidian..."

if (-not (Test-Path $sourcePath)) {
    Write-Error "Source path does not exist: $sourcePath"
    exit 1
}

if (-not (Test-Path $destinationPath)) {
    Write-Error "Destination path does not exist: $destinationPath"
    exit 1
}

# Use Robocopy to mirror the directories
$robocopyOptions = @('/MIR', '/Z', '/W:5', '/R:3')
$robocopyResult = robocopy $sourcePath $destinationPath @robocopyOptions

if ($LASTEXITCODE -ge 8) {
    Write-Error "Robocopy failed with exit code $LASTEXITCODE"
    exit 1
}

# Step 3: Process Markdown files with Python script to handle image links
Write-Host "Processing image links in Markdown files..."
if (-not (Test-Path "images.py")) {
    Write-Error "Python script images.py not found."
    exit 1
}

# Execute the Python script
try {
    & $pythonCommand images.py
} catch {
    Write-Error "Failed to process image links."
    exit 1
}

# Step 4: Build the Hugo site
Write-Host "Building the Hugo site..."
try {
    hugo
} catch {
    Write-Error "Hugo build failed."
    exit 1
}

# Step 5: Add changes to Git
Write-Host "Staging changes for Git..."
$hasChanges = (git status --porcelain) -ne ""
if (-not $hasChanges) {
    Write-Host "No changes to stage."
} else {
    git add .
}

# Step 6: Commit changes with a dynamic message
$commitMessage = "New Blog Post on $(Get-Date -Format 'yyyy-MM-dd HH:mm:ss')"
$hasStagedChanges = (git diff --cached --name-only) -ne ""
if (-not $hasStagedChanges) {
    Write-Host "No changes to commit."
} else {
    Write-Host "Committing changes..."
    git commit -m "$commitMessage"
}

# Step 7: Push all changes to the main branch
Write-Host "Deploying to GitHub Master..."
try {
    git push origin master
} catch {
    Write-Error "Failed to push to Master branch."
    exit 1
}

# Step 8: Push the public folder to the hostinger branch using subtree split and force push
Write-Host "Deploying to GitHub Hostinger..."

# Check if the temporary branch exists and delete it
$branchExists = git branch --list "hostinger-deploy"
if ($branchExists) {
    git branch -D hostinger-deploy
}

# Perform subtree split
try {
    git subtree split --prefix public -b hostinger-deploy
} catch {
    Write-Error "Subtree split failed."
    exit 1
}

# Push to hostinger branch with force
try {
    git push origin hostinger-deploy:hostinger --force
} catch {
    Write-Error "Failed to push to hostinger branch."
    git branch -D hostinger-deploy
    exit 1
}

# Delete the temporary branch
git branch -D hostinger-deploy

Write-Host "All done! Site synced, processed, committed, built, and deployed."
Here’s what the script does:
- Syncs your Obsidian notes and images to Hugo’s content folder.
- Builds the static site using Hugo.
- Commits and pushes the changes to your GitHub repository.
- Deploys the final website to your hosting platform.
Conslusion#
With this script, you now have a fully automated blogging workflow. All you need to do is write, hit a button (execute a script :D), and watch your content go live.
What do you think of this approach? Do you use similar tools for your blog? Let’s connect and share ideas!
This series has shown that automation doesn’t need to be complex. With the right tools and a little patience, anyone can streamline their workflow. The journey, after all, is more important than the destination.
Let me know what you think about this series, and stay tuned for the next post!
I hope you found this informative. If you have any comments, feel free to let me know by sending an email to: nazim@amfdigitalroute.com.